To set up feedback, the User needs to:
- Authorize in ROBIN Process 2.0.
- Log in to the Home page.
- Select the Assistant section.
- Select the Settings subsection.
- Select the Feedback tab.
- Click the Edit button to enter the editing mode.
- Select the published workflow in the Feedback workflow field and the input parameters for the User request field.
- If the User clicks the Save button, the system checks if the mandatory fields are filled in and if the selected workflow exists.
- The changes made are saved, the user remains in the Feedback tab in read mode, and the script ends.
- If there is no access to the workflow, the Feedback workflow, User request, Assistant's response fields are cleared and the selected workflow is not available for use.
- If the User clicks Cancel button, the changes made are not saved, the user remains in the Feedback tab in read mode.
Working with the screen form
You need to create a workflow that has two parameters of type String in the Start block and create a screen form with two elements Text field.
- The user enters the Screen Form Editor.
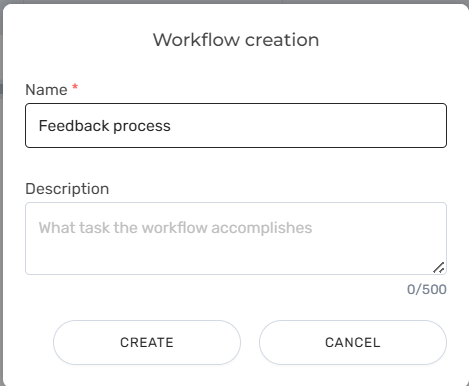
- Creates a new screen form.
- Fills in the fields in the modal window.
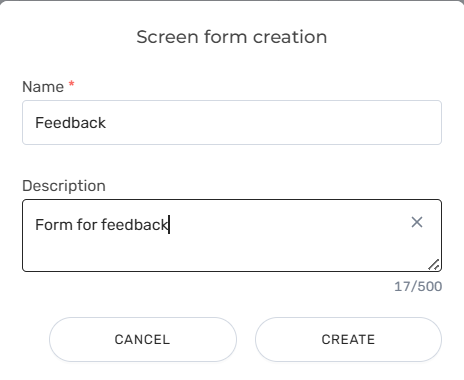
- Clicks the Create button.
It transfers two elements Text field and Button element to the field.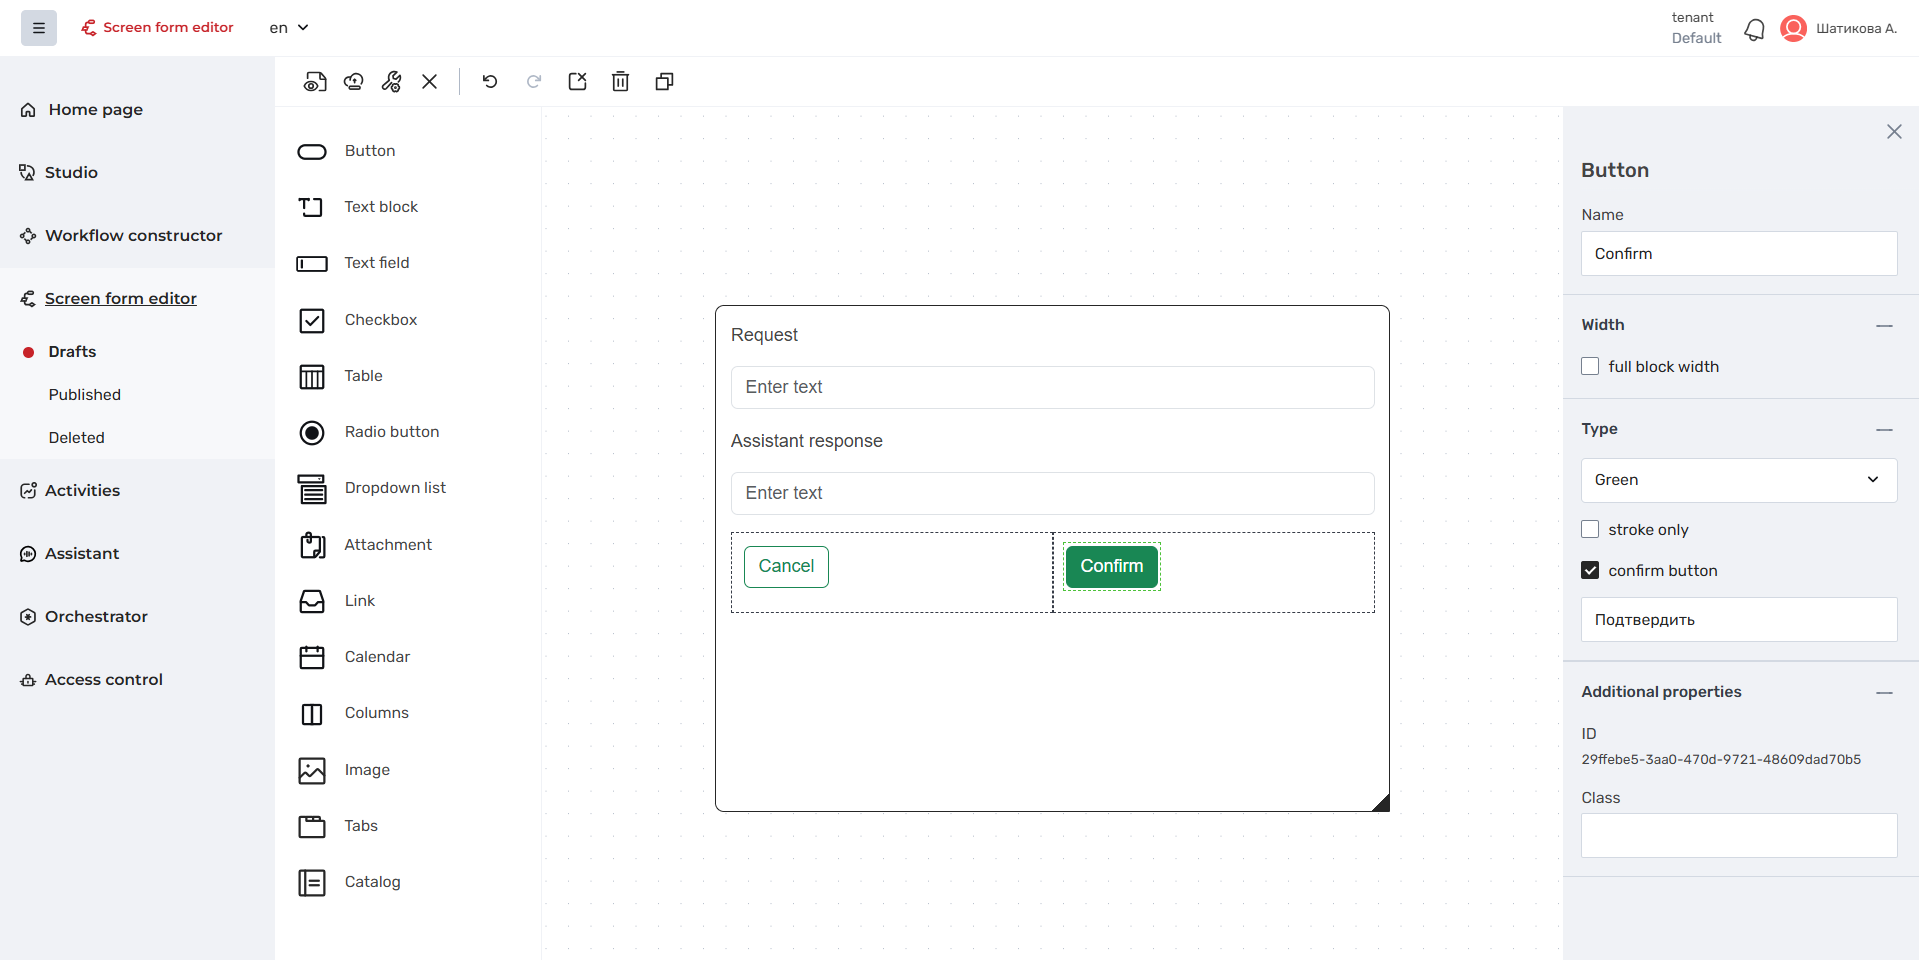
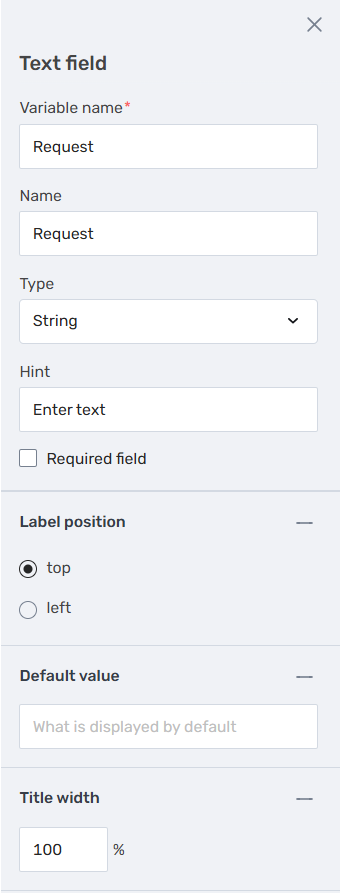
- Fills in the parameters for the first element Text field.
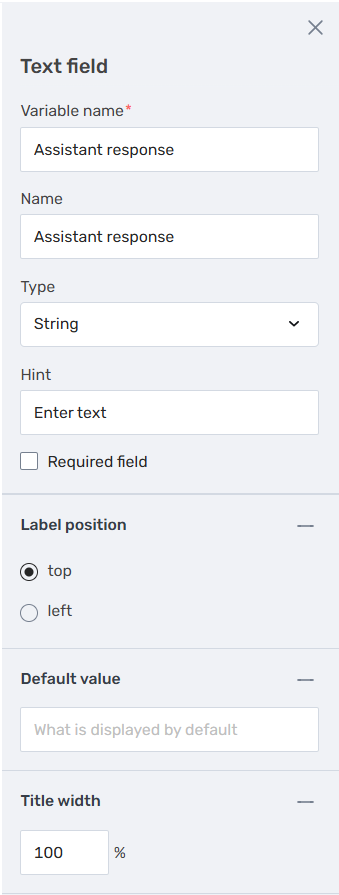
- Fills in the parameters for the second element Text field.
- Fills in the parameters of the Button element.

- Publishes the created screen form.
Project work
- The user goes to Workflow Constructor, then to My projects and clicks on Create workflow project.
- Fills in the fields in the Workflow project creation modal window.
- Clicks the Create button.
- Moves the Screen form block and the Finish block to the workspace. Selects the created screen form and connects the elements to each other.
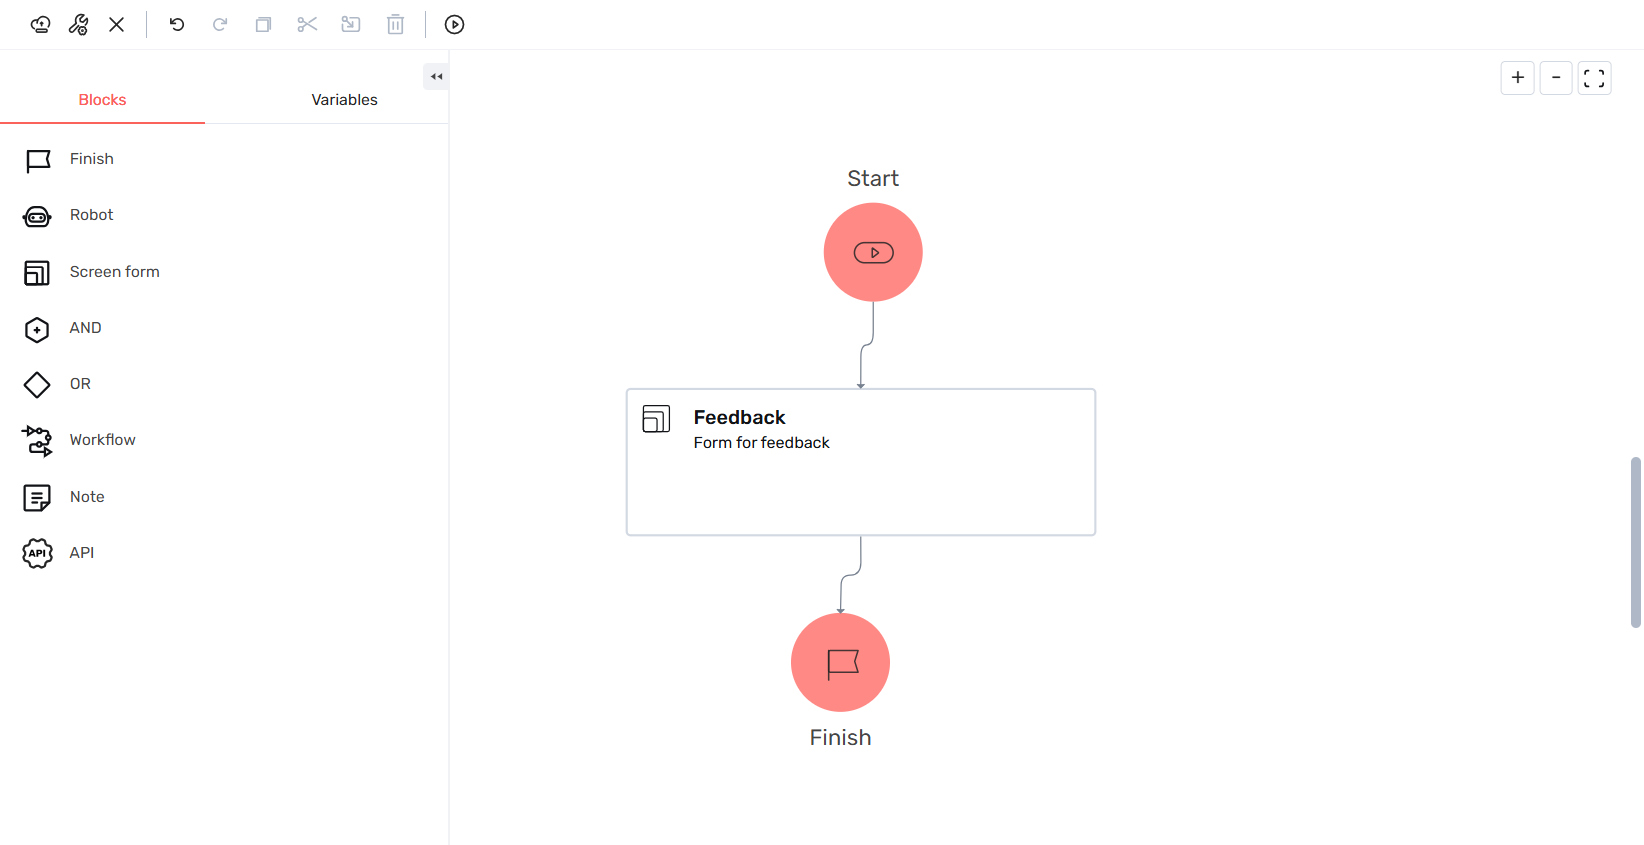
- Fills in the parameters:
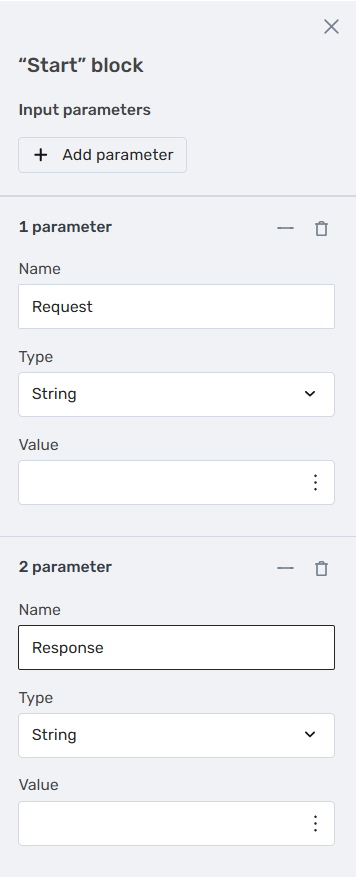
- For the Start block, adds two input parameters Request and Response with type string.
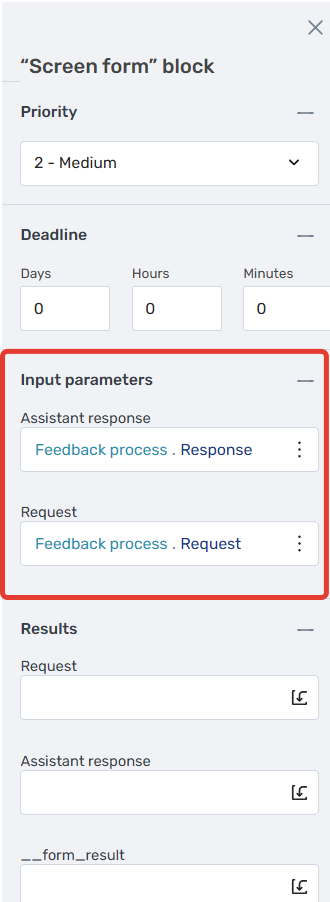
- For the Screen form block, fills the input parameters Request and Response respectively with the Start block.
- For the Finish block, adds the two output parameters User request and Assistant's response and fills in their values.
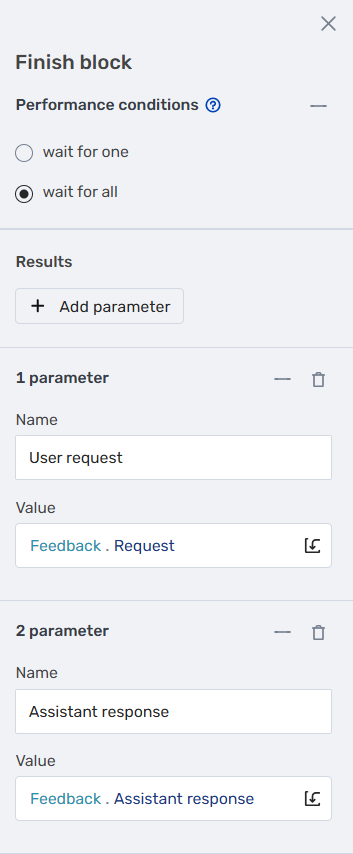
- For the Start block, adds two input parameters Request and Response with type string.
- Publishes a draft workflow.
Working with feedback in Smart Search mode
- A user in the Assistant module goes to Settings and clicks on the Feedback tab.
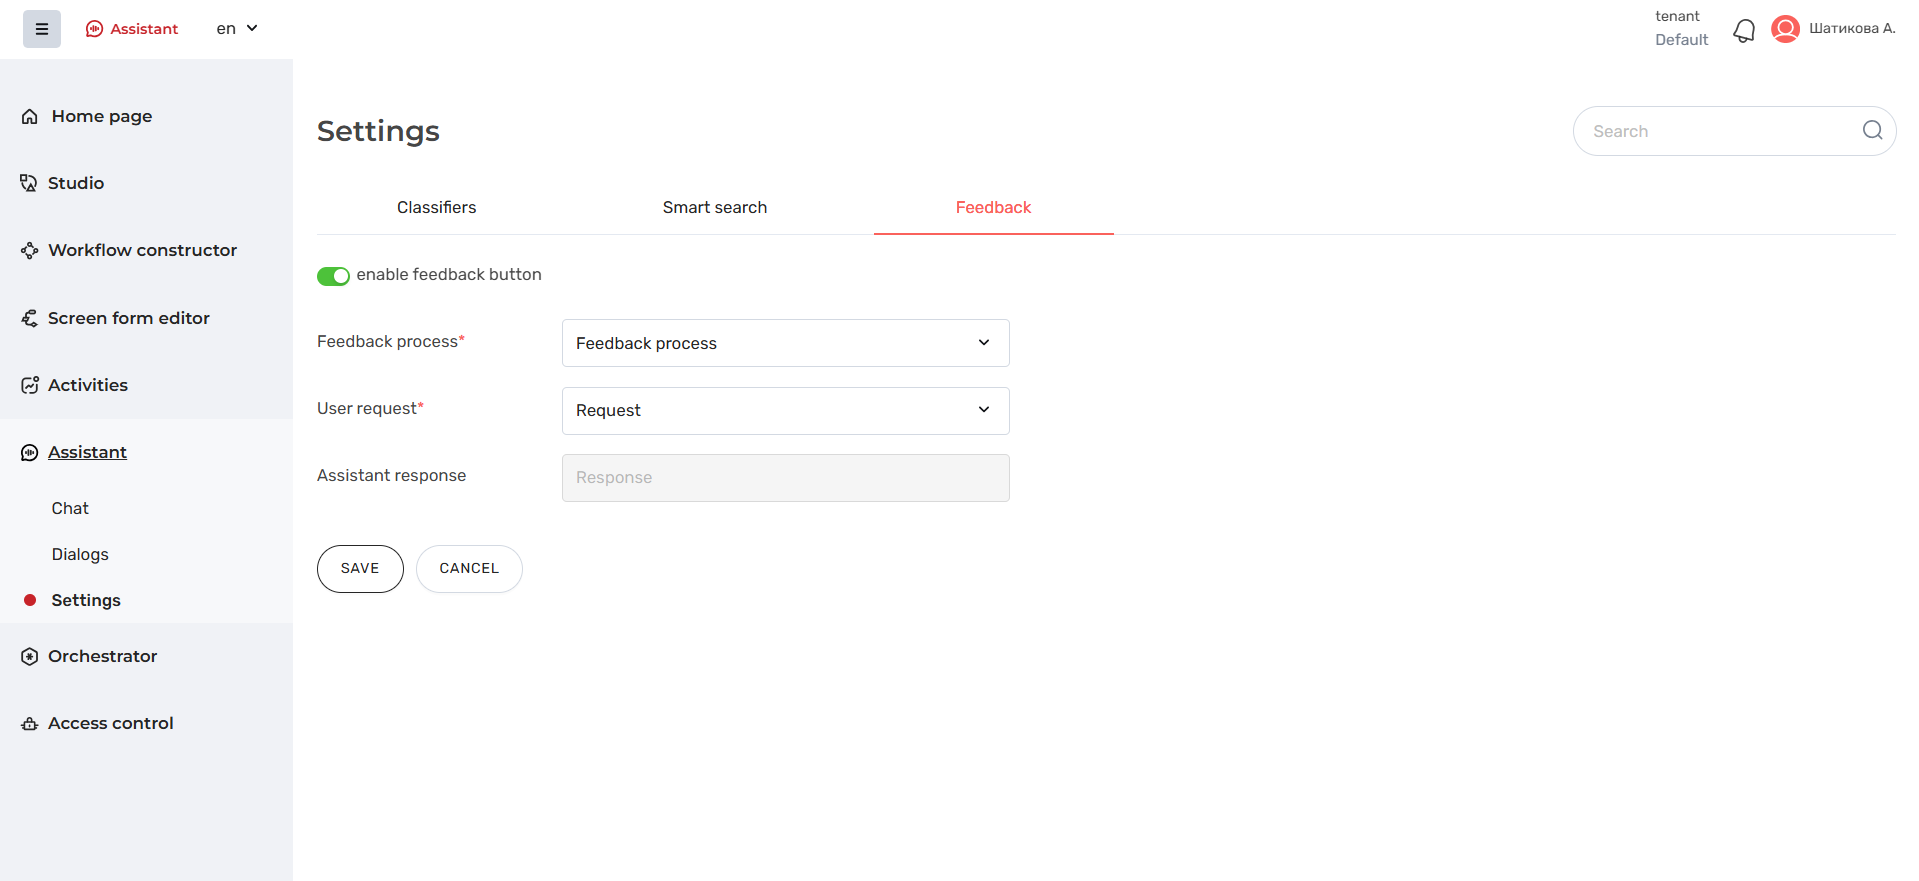
- Clicks the Edit button.
- In the edit form:
- in Feedback workflow selects the published workflow
- in User request selects the variable
- The response from the assistant is filled in automatically
4. Selects to enable the feedback button![]() .
.
5. Clicks Save.
Starting feedback
- A user in the Assistant module enters the Chat.
- In the selected chat selects the Assistant's response for which he wants to start the Feedback workflow.
- The user clicks the Start feedback button
 .
.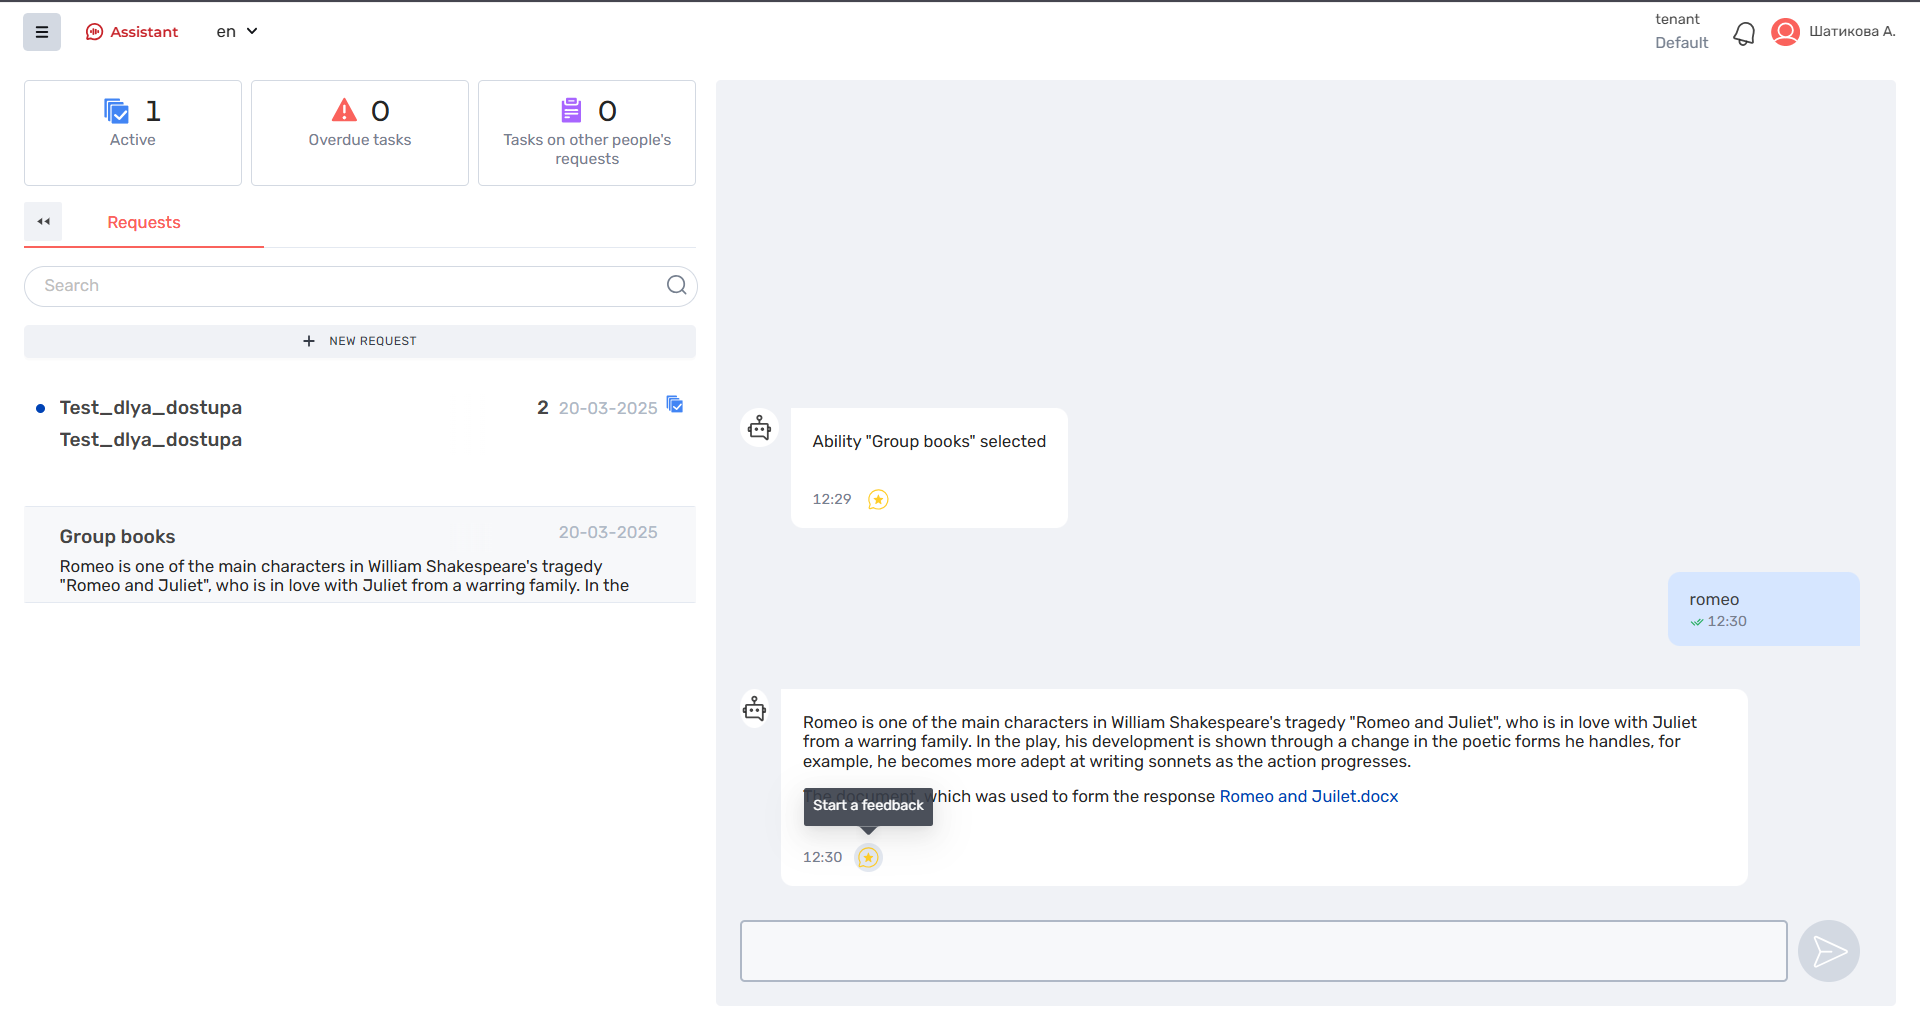
- The Feedback workflow opens in a new chat room.

- Going to the chat with feedback workflow opens the SF configured above, to which the User request and the Assistant's response are passed.
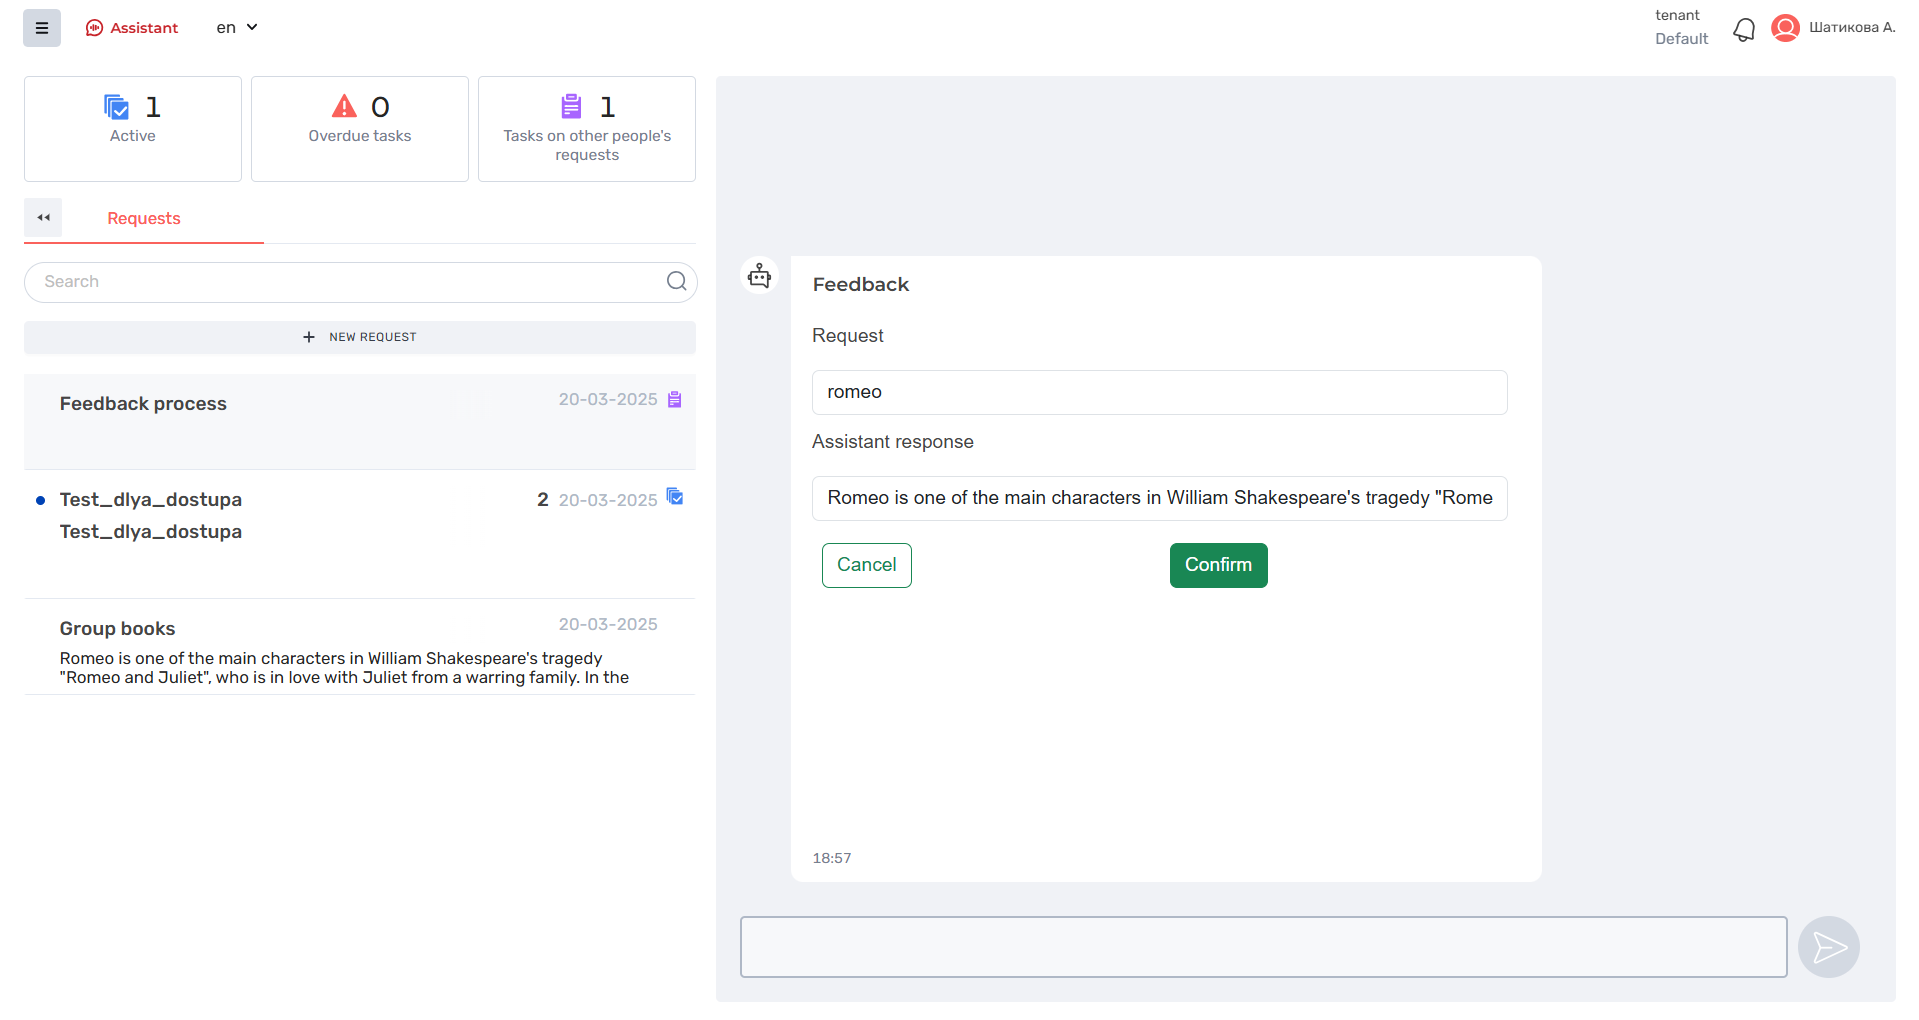
- When the Send button is clicked, a message appears that the Task is completed and the SF becomes unavailable for filling.
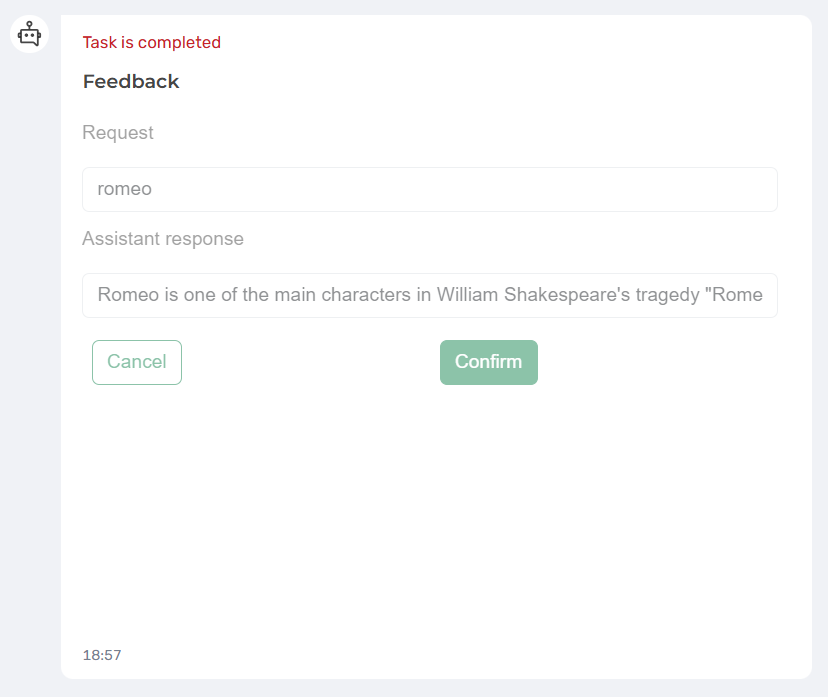
- A notification is displayed as a pop-up window with a green background:
Data successfully submitted.
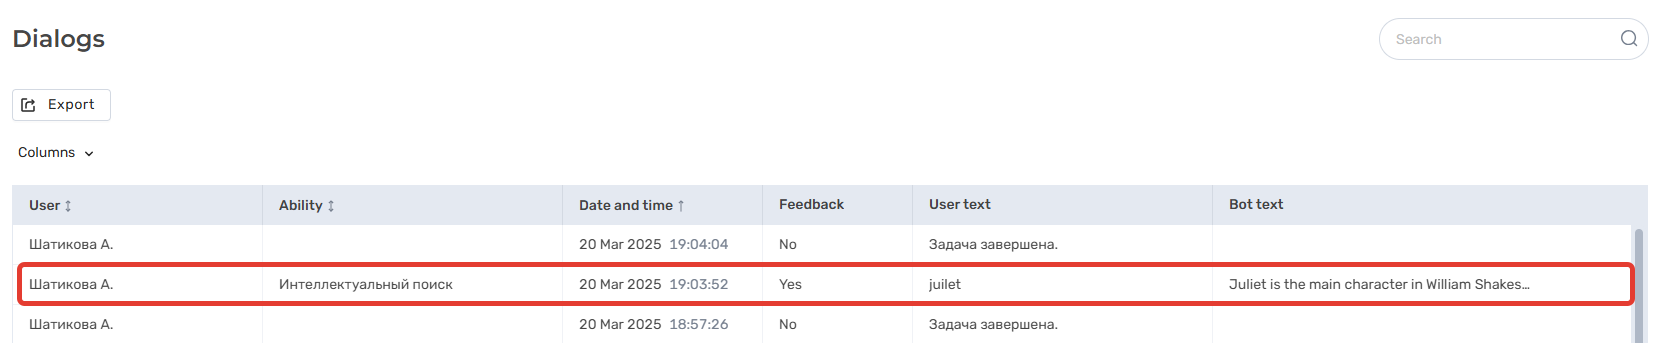
- The Dialogs page captures information on the request.
Обзор
Инструменты контента